There are various ways and tools to make perspective guide. In this tutorial we will learn how to make a perspective guide with Adobe Illustrator.
Step #1: Create a line
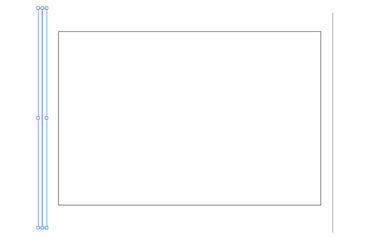
Draw a vertical line on the left of the canvas. Then duplicate the vertical line and move the duplicate to the other side of the canvas. Check the alignment before proceeding to the next step.

Step #2: blend it
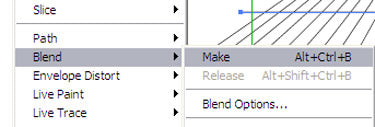
Use the Blend tool to make more lines in between both lines. This tool is also available on menu Object > Blend > Make.
After selecting the Blend tool, click the left line and then the right line. You will see a shade of grey colour on your screen. To adjust the Blend Option, navigate to the menu Object > Blend > Blend Option. Change the Blend option as shown below.


Step #3: Creating a Vanishing Point
To create a vanishing point to the lines e created, navigate to Effect > Warp > Arc Upper. Change the option to match the image below.


Step #4: Horizon Lines
Make horizontal lines at the bottom and a second line on top of the bottom lines. Match the width with the vanishing point lines. Draw the third line, but this time the distance is shorter than the distance between the first line and second line. Draw the fourth line with shorter distance.
Select Blend tool, click line 1 to line 4. Change the Blend option to Specified steps 10. Feel free to add as many steps as you want.


Step #5: Scalable
In the perspective guide we created, we can scale the vanishing and horizontal lines.
Step #6, Change the vanishing point
You can move the vanishing point to left and right using Effect > Distort & Transform > Free Distort.

Want to make another vanishing point? Just duplicate the image, and change the Free Distort option.


