Learn how to create the perfect frame for your photographs using Adobe Illustrator with our guide. From selecting the right frame shape and design to composition and color, our guide covers all the essential steps for creating a visually stunning and effective frame for your photographs.
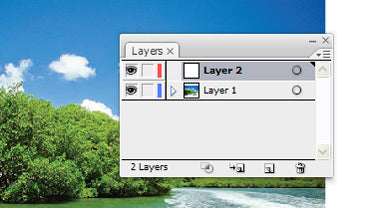
1 Import a photo using Place option or use Paste. Lock this layer and create a new layer.


2 Using the Rectangle tool make a rectangle around the picture.

3 Uncheck the fill for Foreground.
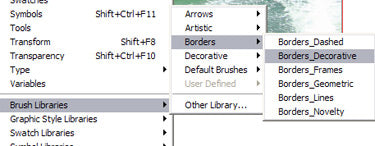
4 Open Brush Libraries and choose Border Sample.
5 Press F5 to open Brushes. Click on the brush of your choice and then click on the arrow at the top. Then select Brush Options.

6 Change the Scale to 150%.

7 Choose Hue Shift under Colorization.

8 Hit OK and select Apply to Strokes.

9 Select the stroke and choose a new colour for the frame.
10 You can add some text or decoration to the photo and thus complete the frame for your photo.


